In this article I try to show what are the basic steps to set up a blog in Drupal.
I will not cover the installation of Drupal, as it is not at all complicated and you can find many guides on the subject around. To manage a blog you need first of all a WYSIWYG editor, and for this I refer you to my guide on the subject.
Note: in this post I don’t use the “Blog” core module that is useful only if you want to give a personal blog for every user of your drupal site.
Drupal already presents content type called “Article” that fits very well for blog purpose as it manages the fields “Title”, “Body”, “tags”, “Image”, “Author” and “Publication date”.
To create an article we just click on “Add Content” and choose “Article”.
Once you have saved the article however it does not show in Drupal in a blog style. To overcome this problem you need a module: “Views”.
1) Download the latest version of the module Chaos tool suite (tested version 1.0-RC1)
2) Download the latest version of Views module (tested version 3.0-RC1)
2) unzip it and copy the contents of sites / all / modules /
3) Enable in the Modules section of Drupal the modules “Chaos tools”, “Views” and “Views UI”.
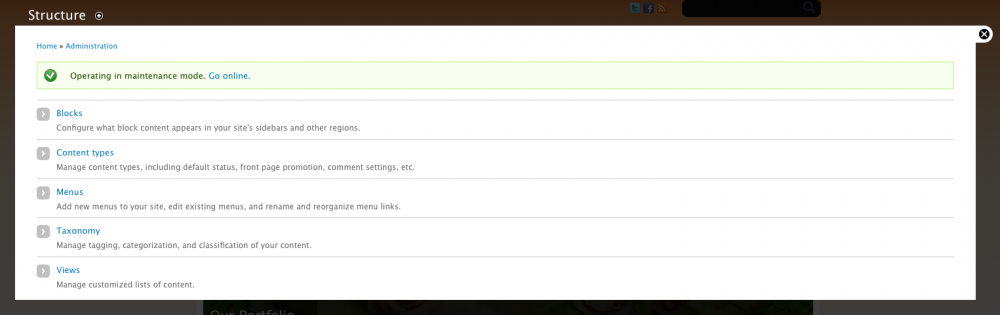
4) Now in “Structure” section you will find the new Views. Click on “Add new view”
5) Choose a name for the View (“Blog List” for example), select “of type ‘article’.” In the “Display format” choose whether to show the whole post or just the previews (“Teasers”). If you want a link that appears in the menu to open the list of posts you can select “create a menu link” and you can even tweak automatically create an RSS feed by simply selecting the appropriate box.
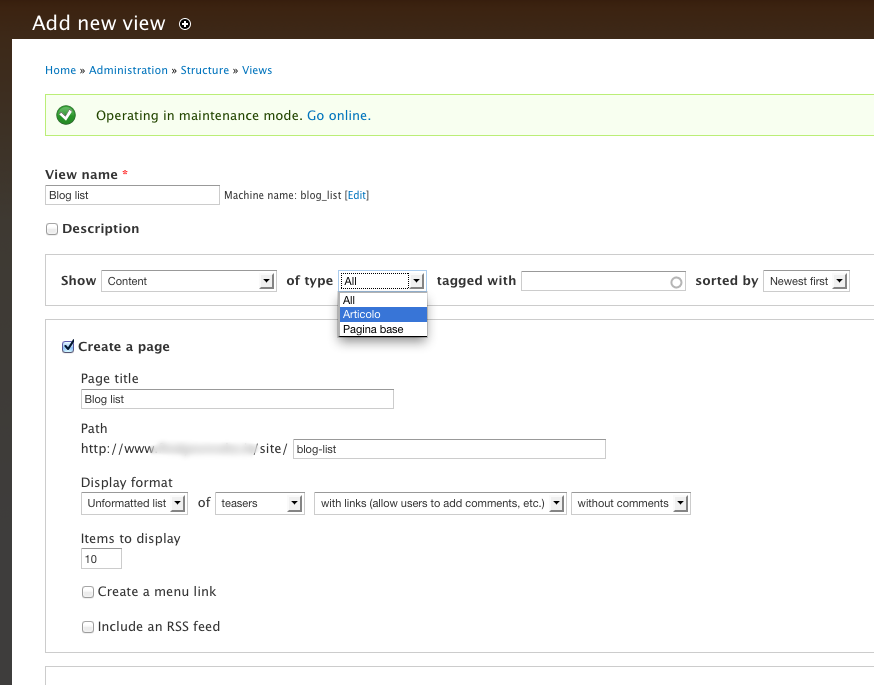
Click “Save & Exit”.