
Some time ago, me and Laura needed to develop a software that enabled a user to indicate the completion of a repetitive action pushing a button every 5-10 minutes. The operator generally worked a couple of meters from his computer and each time he had to get close and press F2. Unfortunately there was no chance for placing a wireless keyboard closer to the operator because he is not sitting, so we thought to use a big wireless button to hang by the wall. Looking around I have not found any ready-made solutions, so I decided to modify an old wireless keyboard (unused because the battery contacts were completely ruined by acid) and a small wall lamp worth 2 bucks, one of those who switch on by pressing.
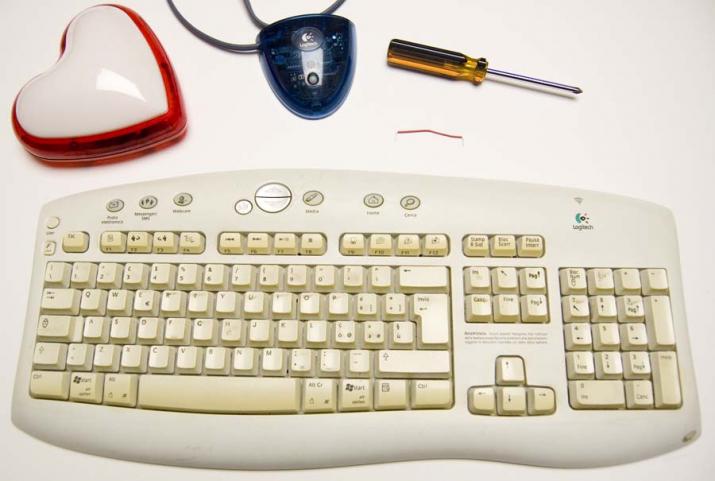
I disassembled the keyboard.
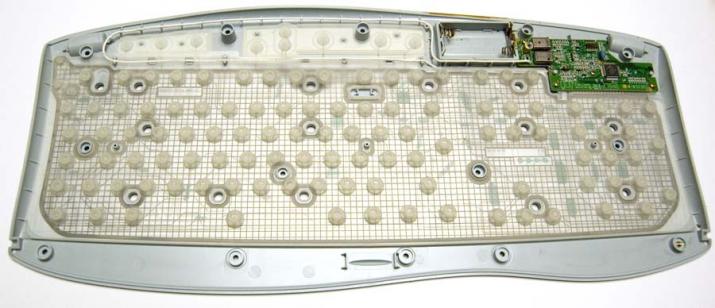
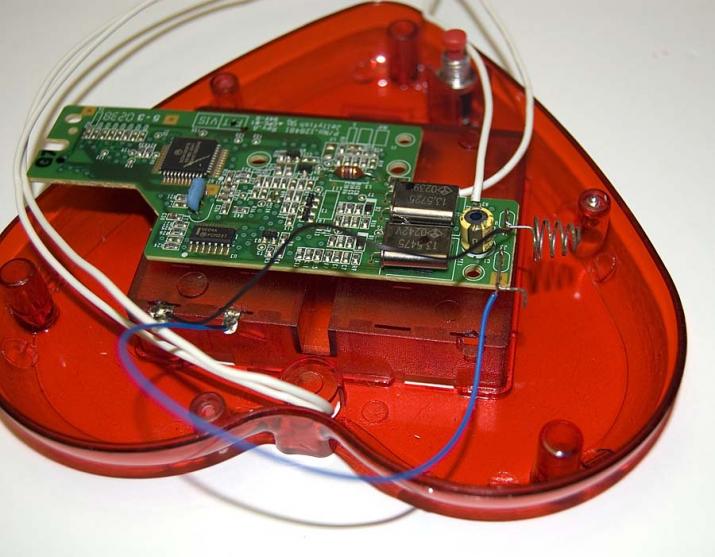
Of the keyboard, I just needed the circuit that is responsible to decode the keystrokes and transmits the signal.
So I removed the circuit. Connected to the circuit there is always some kind of antenna. In my case it was a long wire.

I disassembled the small wall lamp then removed all the unnecessary bits such as backlight.

Inside these lamps there is a switch but for our purpose we need a button that closes the normally open contacts when pressed. So I tried to figure out how to place the button.
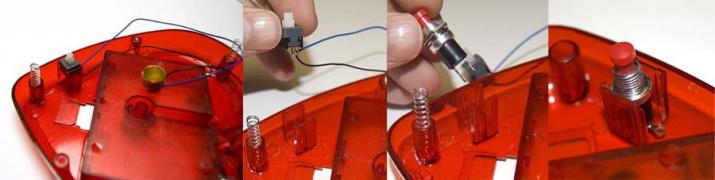
Prima di saldare il pulsante però ho dovuto svolgere altre operazioni. L’alimentazione della lampada era fornita da quattro pile da 1,5v mentre quella della tastiera era di solo due pile. Per questo ho dovuto modifcare i contatti dello scomparto pile per accettare solo due pile invece di quattro. Fatto questo ho collegato i contatti delle batterie con i contatti di alimentazione del circuito.
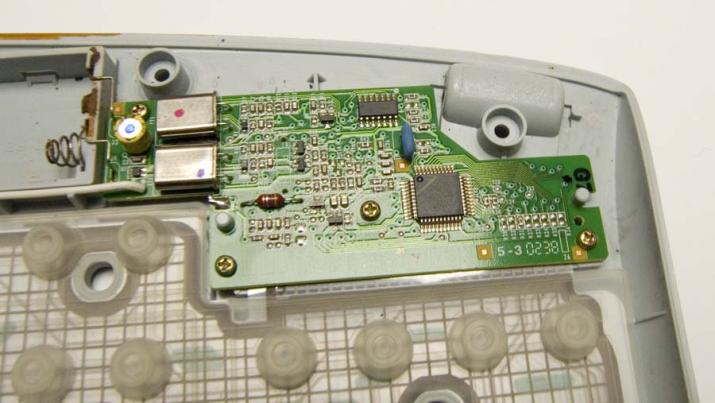
In all keyboards there are the connectors like those visible in the picture below.
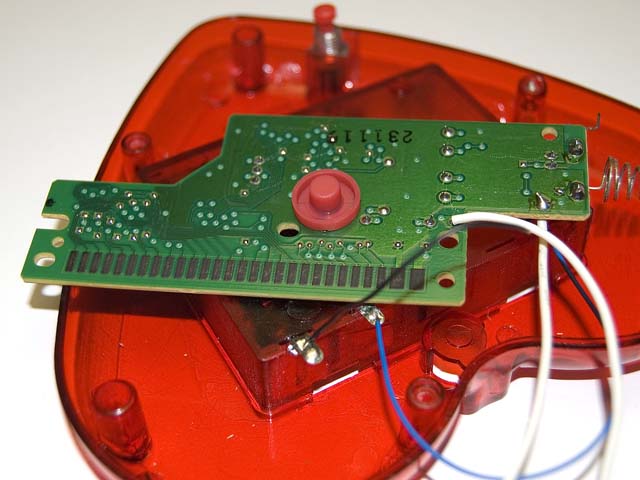
When you press a key on the keyboard to two of these connectors gonna be connected. Based on the connected terminal it can figure out which button was pressed. To simulate the “F2” pressing I had to identify which two connectors are connected in this case. I used an application called Passmark KeyboardTest of which you can download a trial version for 30 days. This application aims to verify the proper functioning of the keyboard graphically showing what keys are pressed in a determined moment.
I connected my wireless keyboard (now reduced to the bone) to the computer. It worth noting that when these keyboards are connected to the PC for the first time it is required the push of a small button to be detected by the wireless unit, so I had to temporarily put back this button on the circuit to be able to press it so the computer could recognize the “keyboard”.
Installe the software and connected the keyboard I moved to the “investigation” step in order to identify which pair of connectors corresponded to the “F2” key. With a small electric wire I connected several pairs of terminals verifying with KeyboardTest software in which way they were interpreted by the keyboard circuit. After several attempts I managed to locate the two connectors for “F2.”

These were the two plugs that had to be connected to the button! In my keyboard model this connector were covered by a rubbery substance so I scraped them with a screwdriver in order to uncover the copper underneath. This detail may not be worthwhile depending on the model of the keyboard.
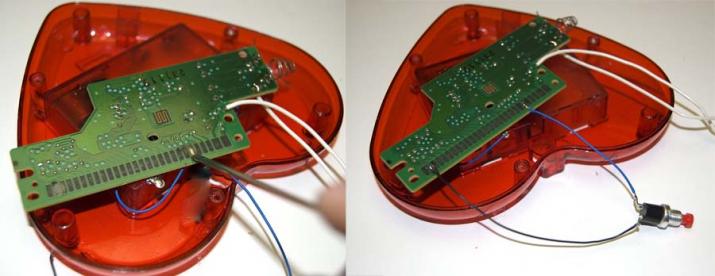
Soldered the button, I set the circuit inside the lamp, I rolled the antenna to put it into the box, and I placed the button to be pressed with the pressure of the lamp. For added coverage of the wireless transmission I had to leave the antenna on the outside, but aesthetically it was a bit odd.
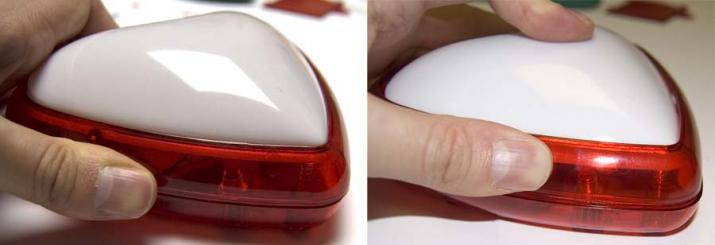
Once closed my wireless button was ready for use. Now I can use it with any software application that supports the use of the F2 function key. To create a more complete project you could use some microswitch to configure different keys emulation, or if your application can intercept the press of a mouse, you could use a wireless mouse instead of more expensive wireless keyboard.