A few months ago I published a post on how to make a MIDI Ribbon Controller withArduino. In the meantime I had a few ideas to improve both hardware and software and also felt the need to change many parameters without having toreprogram every time Arduino. Finally I placed the controller in a case, thanks to Laurawho built it. So this is version 2.0 of my MIDI Ribbon Controller, which finally becomes a much more practical tool.
NOTE: I am not an electronics expert so if you decide to implement this project I am not responsible for any damage to computers, houses, people and animals that mayarise . I do not exclude that there are some errors in this article, eventually I will try to correct.
UPDATE: For those interested in MIDI ribbon controllers take a look to the new MIDIRibbon controller with USB and audio by Eowave. It includes a small theremin type synth, a CV/Gate controller, a control area for the effects and it’s gorgeous. The price is affordable (199 € +vat). So for many the Eowave controller may be a better option.
This is the parts list for our Coagula MIDI Ribbon Controller:
- Arduino UNO
- Spectra Symbol Ribbon sensor 50cm
- Interlink Ribbon pressure sensor 60cm
- 6 10khom resistors
- 1 220 hom resistor
- 1 megahom resistor
- 1 female MIDI DIN-5 connector
- 1 stripboard
- 1 LCD Hitachi HD44780 compatible 20×4 (but you can use a 16×2 version if you modify the code. I suggest to search on Ebay for some cheap model)
- 4 buttons
- 1 switch for the power
- wires
- breakaway headers
- 1 case
This is the schematic:
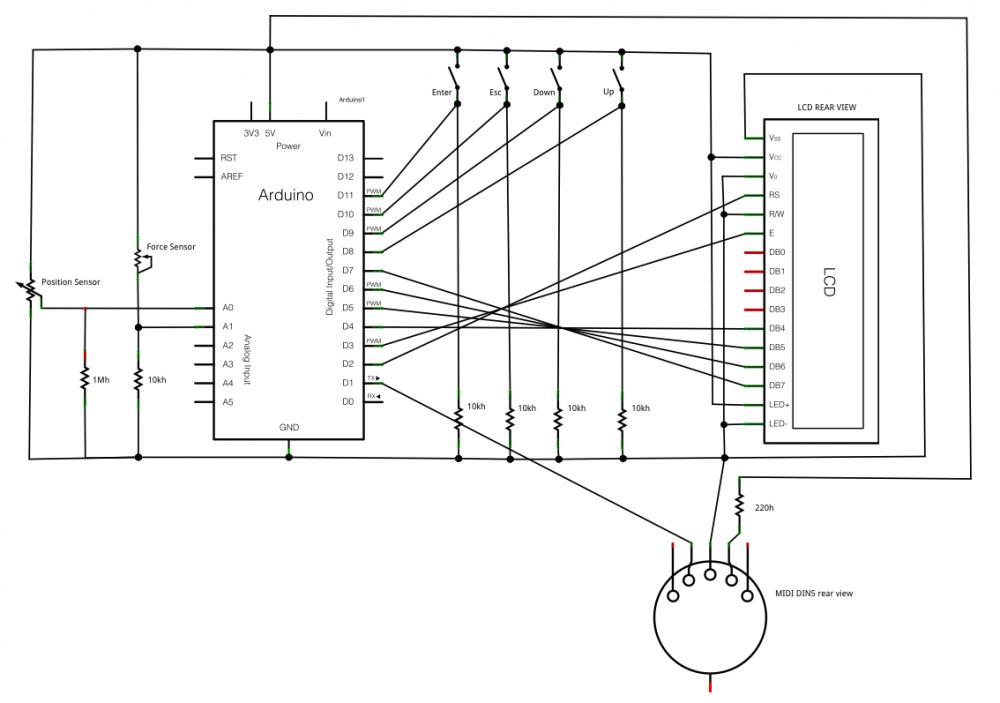
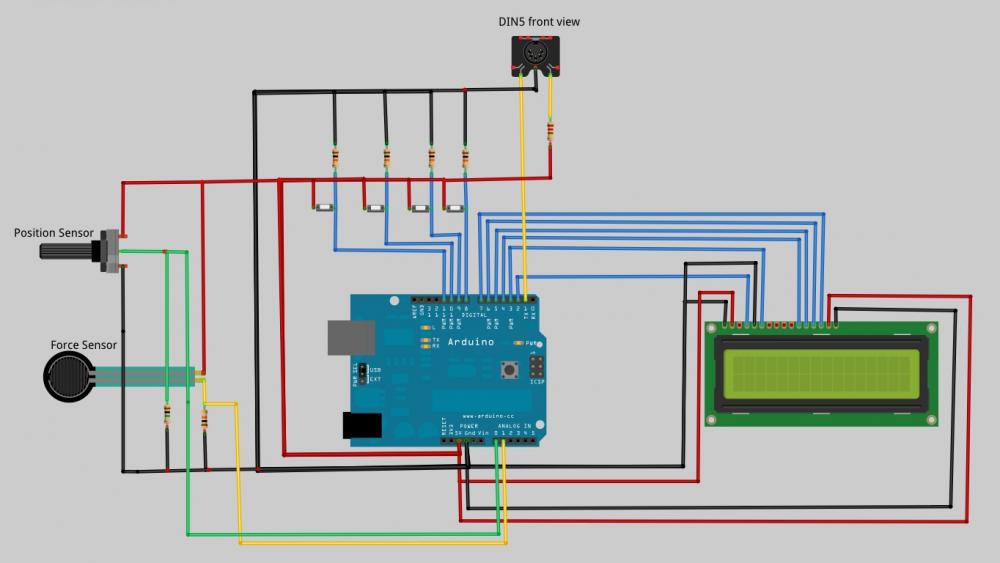
In the diagram I useed the image of a ptentiometer for the position sensor because I have not found that of the Spectrsymbol SoftPot.
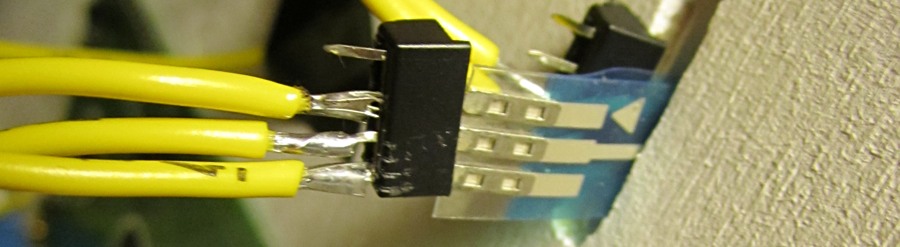
The two sensors are attached to each other, putting the force sensor beneath and the position sensor above. The pressure sensor is a few inches longer and you can safelycut off the excess. The force sensor has only two terminals and no polarity so there is norisk of failing, but for the position sensor be very careful: with wrong connections may burn! It happened to me, unfortunately!
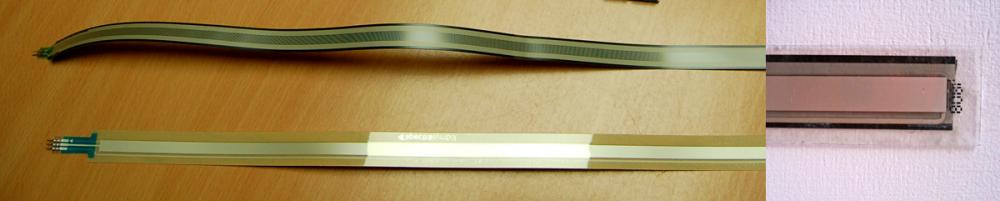
Note that you cannot solder the sensor directly but you need to use a connector. I used an half socket for integrated circuit.
I added a Hitachi HD44780 compatible LCD display and 4 buttons to operate a menuthrough which you can choose between two different control modes, set differentMIDI parameters, and recalibrate the pressure sensor when needed.
These are the functions of the 4 buttons:
- pin8 = Up
- pin9 = Down
- pin10 = Esc
- pin11 = Enter
All setup values ??are stored on the flash memory of Arduino.
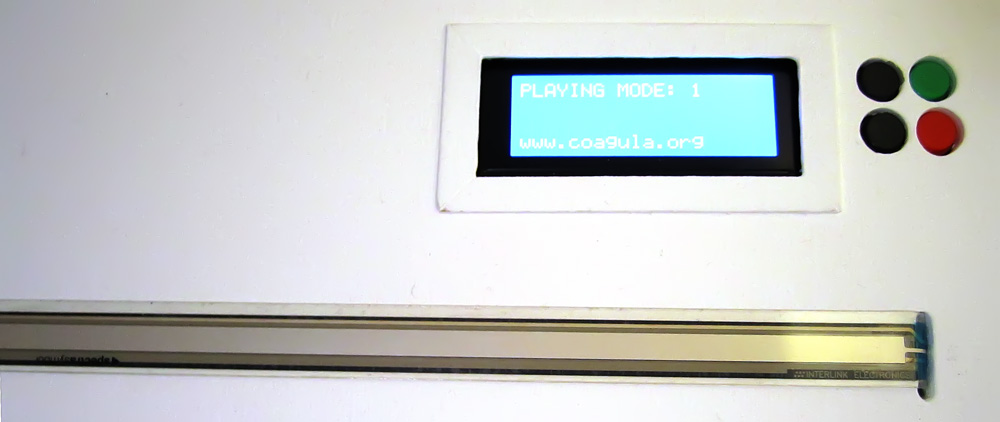
Playing Mode 2 is the same as that used in the original version of the controller. Pressingthe sensor the controller sends a Note On command and moving your finger sendsControl Change command. The note off is sent only when you release the sensor.
In the Playing mode 1 by pressing the sensor sends a Note On command and movingyour finger you play other notes, like when you scroll through the keys of a piano.
In both modes are also sent Control Change values under the pressure applied on the sensor.
Through the menu you can set the number of control change associated with theposition sensor (used only for the Playing mode 2), the control change associated with the force sensor, the lowest note and the highest that can be sent, the MIDI channel .You can also launch a “MIDI Teach mode” that is used to send some values for the control changes set for the sensors , using the twobuttons that are normally used to browse the menu. This MIDI Teach mode is useful for use in conjunction with the “MIDILearn” mode that you can find in a lot of music software and hardware modules, in fact, pressing the sensors, it would be impossible to send these control changeindividually and without also send MIDI Notes.
Finally, by the menu you can also launch the calibration of the force sensor, whichanyway is done automatically the first time you start Arduino.

Here you can download the complete code. You also need the library MIDILIBRARYwhich can be downloaded directly from Sourceforge, and for the Alexander Brevig Menubackend library download the 1.4 version and modify it slightly by adding, atline 195 of file MenuBackend.h immediately before the line that says “private” thismethod:
void toRoot() {
setCurrent( &getRoot() );
}
This method is able to return easily to the root of the menu. In the sketch you have toimport the Menubackend library , the Midilibrary and the LiquidCrystal library .
For more details on the management of the menu you can see my other post on how to manage menu with Arduino.
If you build this project or if you modify it I would be happy to see the results.
Here is a short demo of the “MIDI Ribbon Controller“.
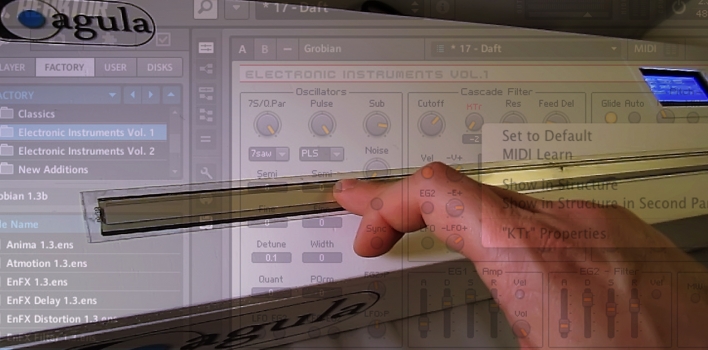
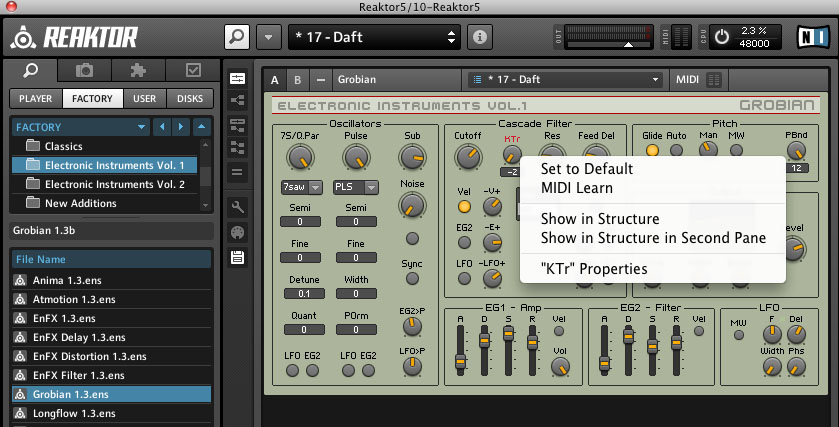
I used Ableton Live and Reaktor with the Grobian ensemble and the Daft preset. Theparameter HTR has been associated with the Control Change fot the force sensor. I tried to get an effect similar to Trent Reznor Swarmatron.

Coagula MIDI Ribbon Controller 2.0 by Giuseppe Di Cillo – Coagula.org is licensed under a Creative Commons Attribution-NonCommercial-ShareAlike 3.0 Unported License.
Permissions beyond the scope of this license may be available at http://www.coagula.org